
Controlling autoplay in web browsers has become increasingly important for a smooth and user-friendly internet experience.
Autoplay videos can be a significant nuisance, leading to:
- Unexpected disruptions
- Increased data usage
- Potential privacy concerns
Today, we want to shine a light on the methods you can utilize to make it as simple and convenient as possible.
Methods to Disable Autoplay in Chrome
Here are the most efficient methods you can use to disable autoplay in Chrome.
Using Chrome Settings
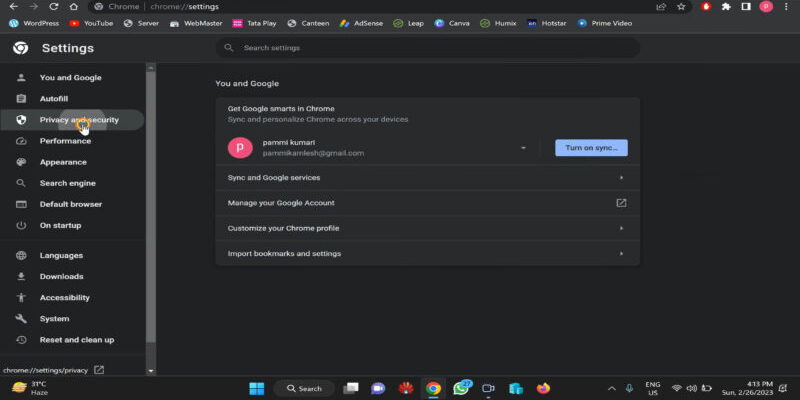
Google Chrome’s settings offer built-in options to control and disable autoplay.
- Open Chrome
- Click on the three dots (menu) in the top right corner
- Select “Settings.”
Navigate to “Privacy and Security,” then “Site Settings,” where you’ll find options to manage media.
Within the media settings, you can toggle the autoplay switch to off, preventing videos from playing automatically.
You can manage permissions for specific websites, allowing you to customize which sites can autoplay media and which cannot.
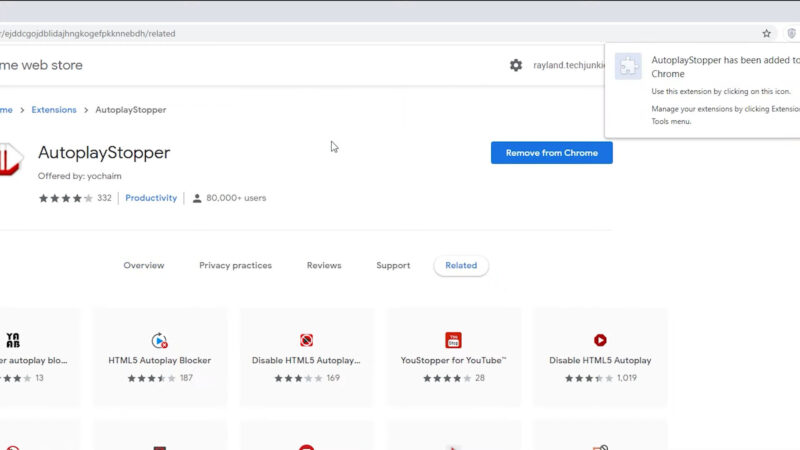
Using Extensions
Chrome extensions offer powerful tools for controlling autoplay.
Extensions like AutoplayStopper and Disable HTML5 Autoplay are specifically designed to block autoplay videos.
To install these extensions, visit the Chrome Web Store, search for the desired extension, click “Add to Chrome,” and follow the prompts to install.
Once installed, you can configure the extension settings to suit your preferences, giving you additional control over how and when videos play.
Extensions are an excellent option for users who want a more robust solution to manage autoplay across different websites.
Managing Audio Settings
In addition to stopping videos from autoplaying, managing audio settings can help address sites with persistent autoplay issues.
Chrome allows you to mute specific sites, ensuring that even if a video starts playing, it won’t disrupt you with sound.
To mute a site, right-click on the site’s tab and select “Mute site.”
You can also adjust sound settings more broadly by going into Chrome’s settings under “Privacy and Security” and managing permissions for sound.
Detailed Steps for Disabling Autoplay
Now let us take a look at some more detailed steps.
Disabling Autoplay via Chrome Settings
- Select “Settings” from the dropdown menu.
- Navigate to “Privacy and Security” and then to “Site Settings.”
- Scroll down to “Media” and find the “Autoplay” option.
- Toggle the switch to off to disable autoplay for all sites.
This method ensures that videos won’t automatically start playing when you visit a new site, giving you a quieter and more controlled browsing experience.
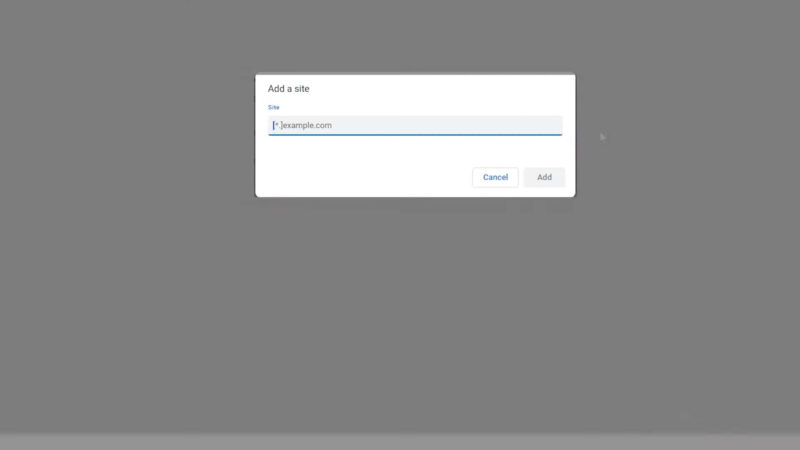
Blocking Autoplay for Specific Sites
- Click the lock icon in the address bar next to the site’s URL.
- Select “Site Settings” from the dropdown menu.
- Under “Permissions,” find the “Autoplay” option and set it to “Block.”
This approach allows you to block autoplay on a site-by-site basis, giving you the flexibility to allow autoplay on trusted sites while blocking it on others.
Using Chrome Flags
- Use the search box to find “Autoplay Policy.“
- Change the setting to “Document user activation is required.”
- Restart Chrome to apply the changes.
By requiring user activation, this setting ensures that media will only play if you interact with it, providing a more controlled browsing experience.